Undead Uprising
Undead Uprising was a personal project where I created an FPS wave-based zombie survival game. Throughout this personal project, I set up the character from scratch, programmed the zombie logic and gun shooting logic through nodes, build the map with free assets, and set up the waves-based game mode.

Duration:
April 2023 (1 Week)
Team:
Enoch Hsieh
Engine and tools:
Unreal Engine 5,
Quixel Bridge
What is Undead Uprising?
Undead Uprising is a first-person shooter where the player will have to survive waves of zombies that will chase and try to kill you. By surviving each wave, ammo drops will spawn at a random location.
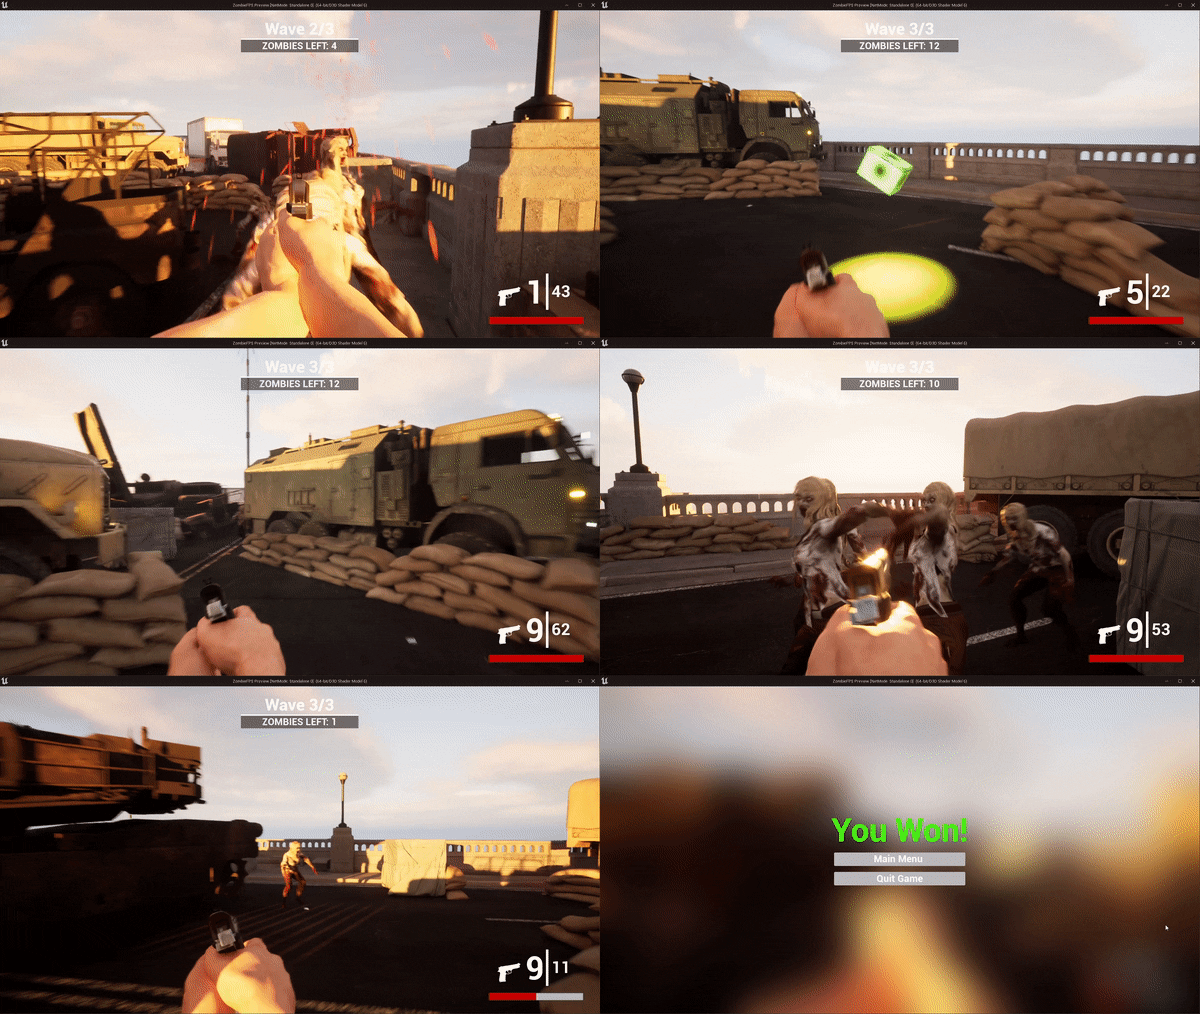
Undead Uprising - Mechanics & Gameplay
Process
After creating Treasure Cove, I wanted to push myself further and explore what more I could create in Unreal Engine. In my past experiences, I've never created an FPS game but always have been a fan of the genre, hence that became my motivation for this project.
Below is an overview of each step I took to create Undead Uprising.
1. Setting Up the Main Character
Applying Simple Animations to Movement
Using the default FPS character's blueprint template will give us the base movement we already need. All that was left was for me to set up the animation blueprint for the main character. This includes revising the free animations so they look flush when combined with the gun.
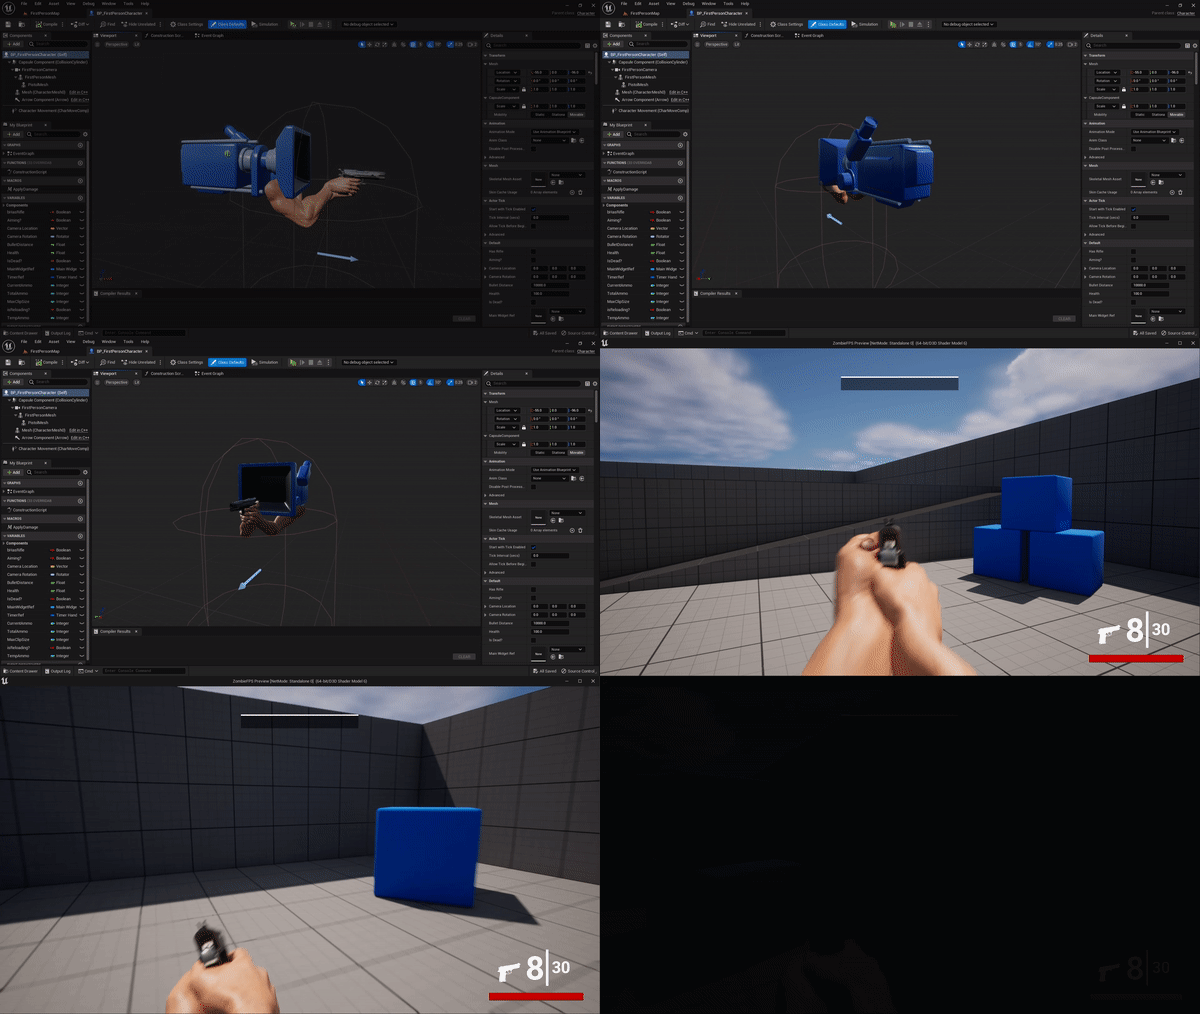
Shooting Logic
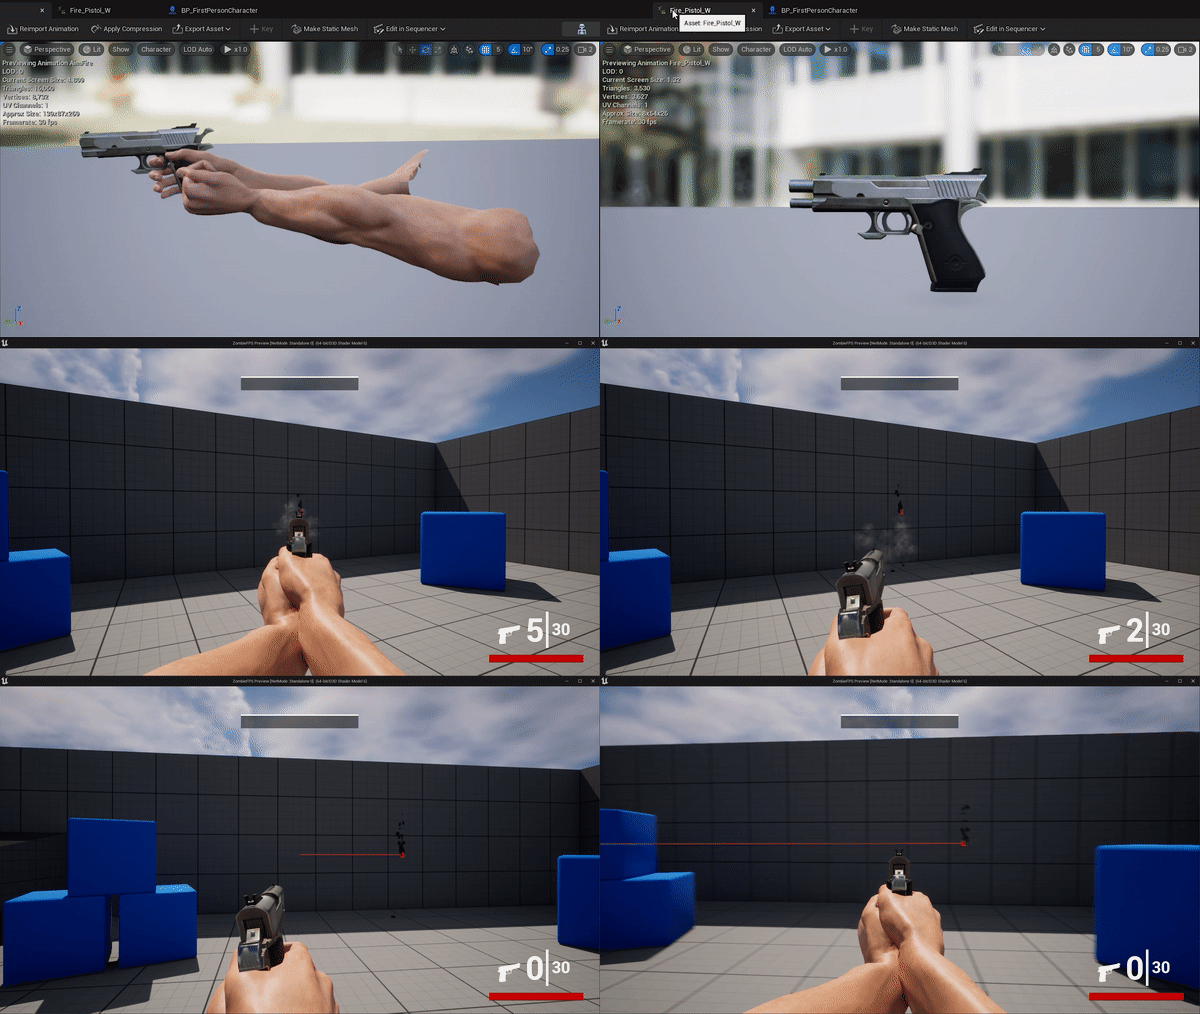
I set it up so the bullets would shoot out of the first-person camera, hence the bullets would be shot out of where the player is looking.
Then by combining the player fire animation with the gun-firing animation and effects, the player can now shoot bullets out of their gun.
Reloading Logic
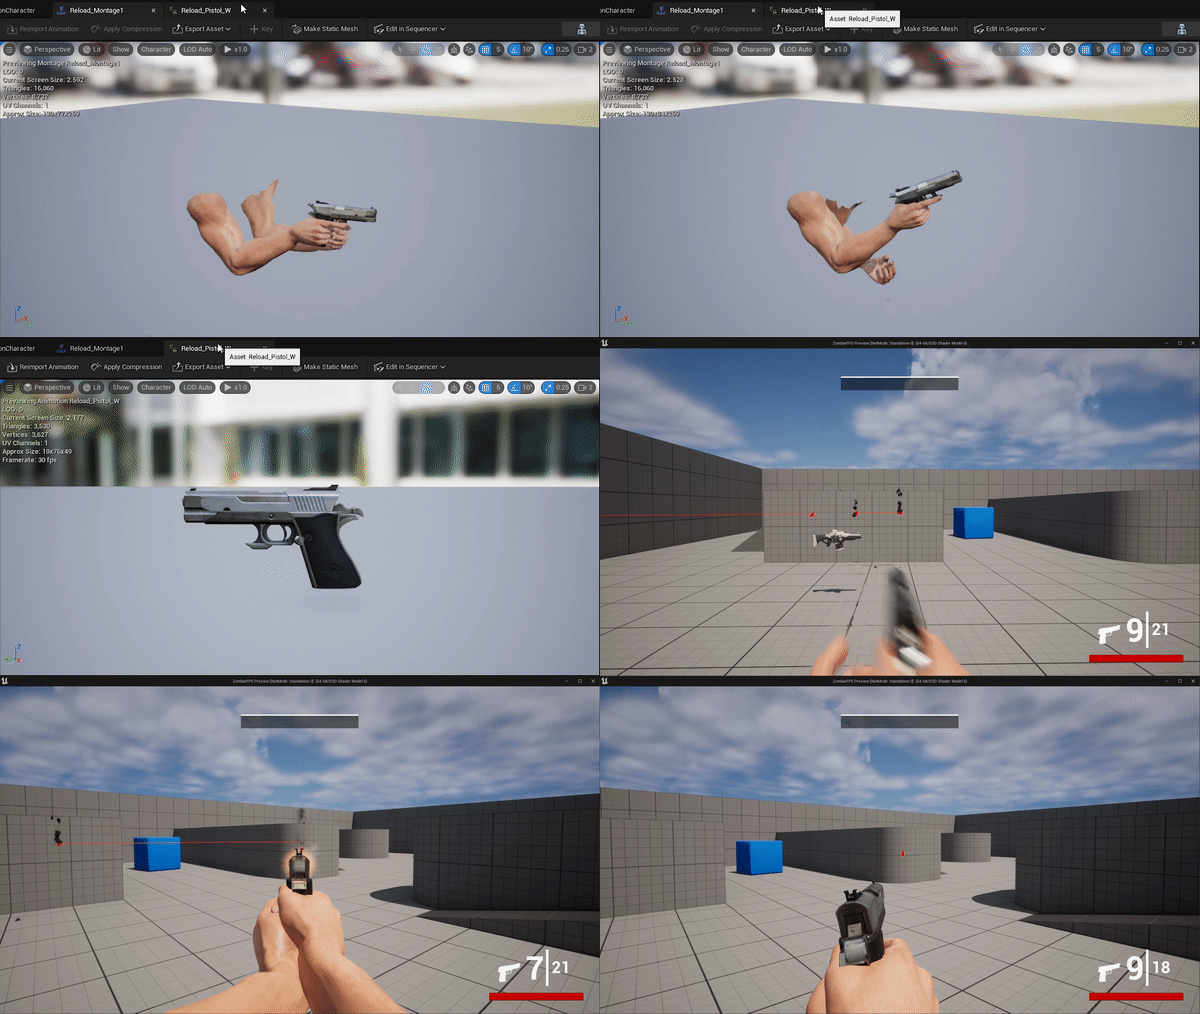
For reloading, it's set up so whenever the player presses R, a boolean will check to see if the player has enough ammo to reload and if the gun's clip is missing bullets. If both cases are true, then the clip will refill to max and the gun will reload.
For animations, the process is similar to the shooting. Where I combine the player reload animation with the gun reload animation and effects.
2. Setting up Zombie AI
Adding Zombie Animations
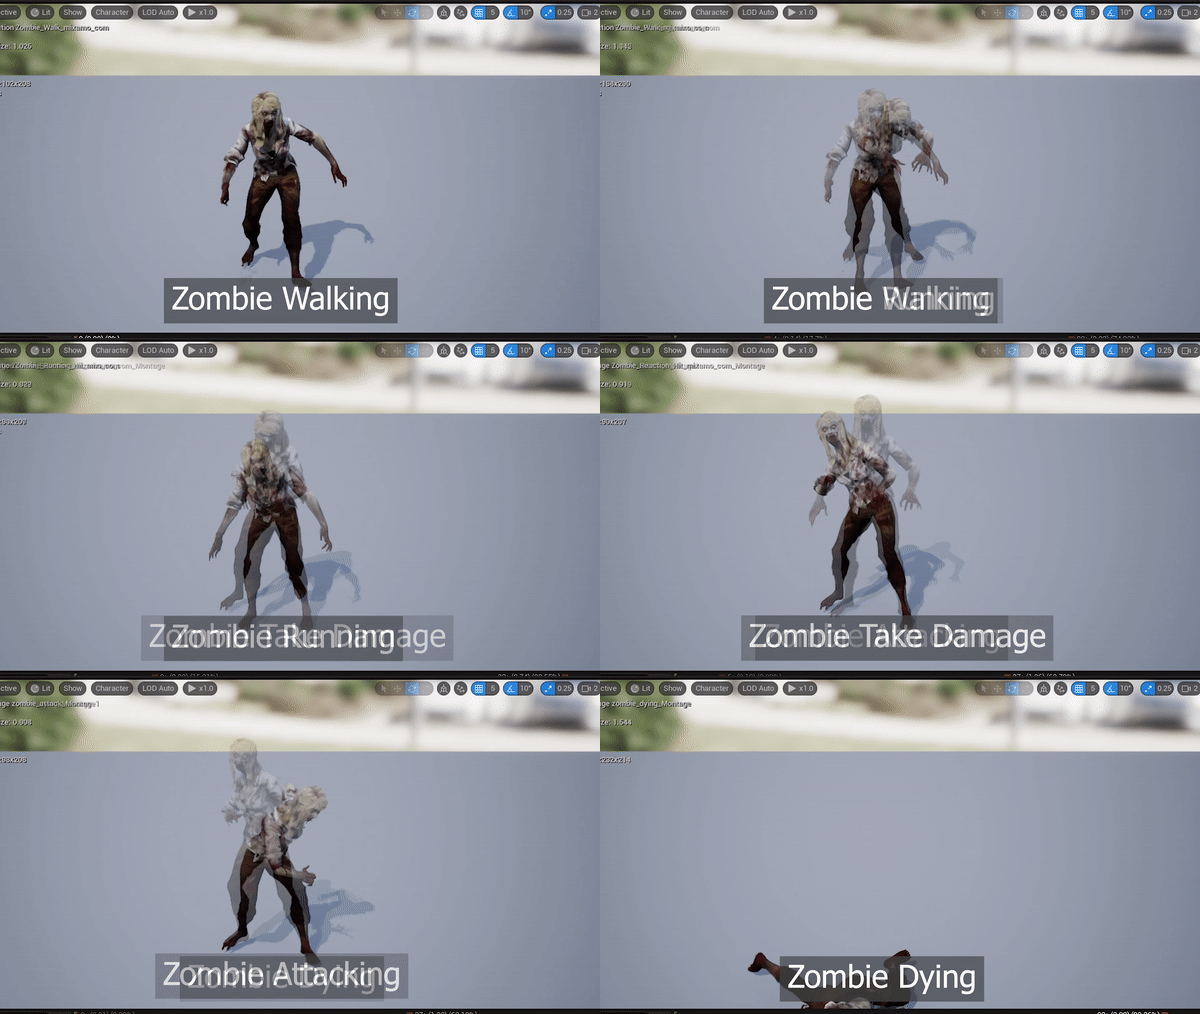
The zombie will have 6 different animations:
-
2 for moving
-
1 for attacking
-
1 for taking damage
-
1 death animation
Zombie Chasing Player
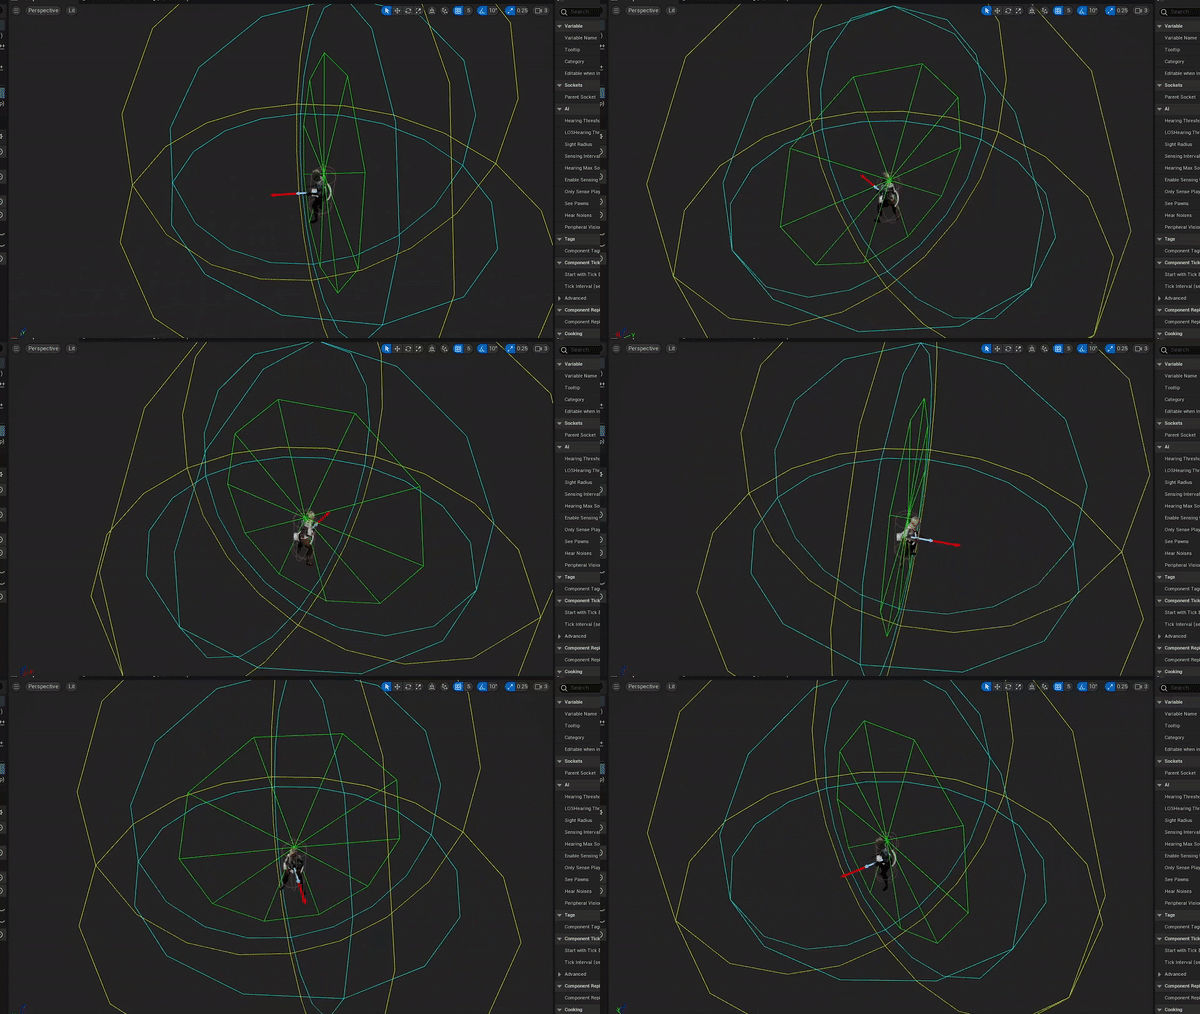
Using the pawn-sensing function on the zombie, the zombie now has 3 radiuses for hearing, sight, and LOS hearing. If the player is within one of the radiuses, the zombie will lock on and chase the player.
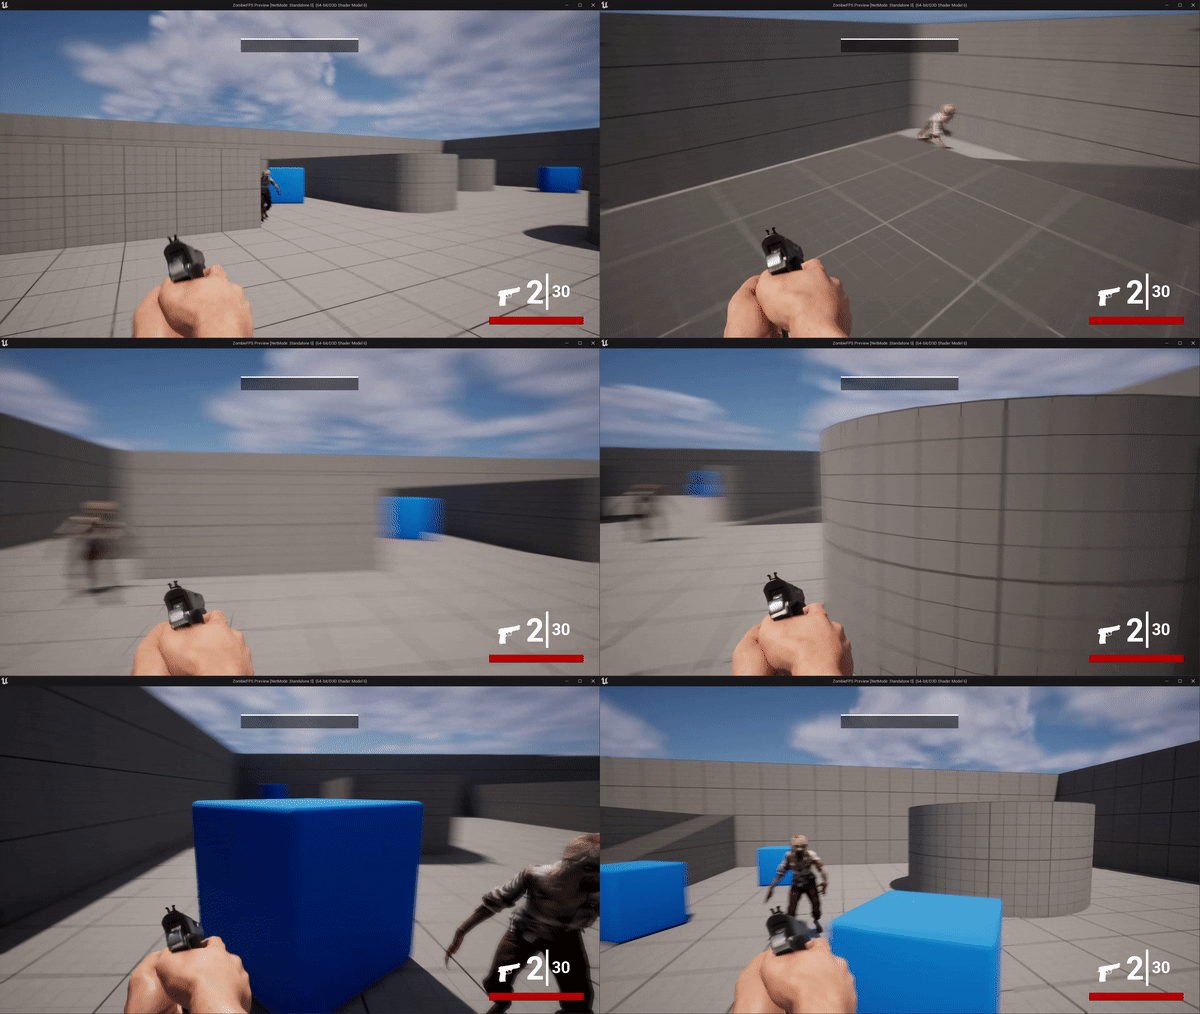
The pathing for the zombie is determined through RecastNavMesh. This would generate all possible ground that the pawn can travel in the scene.
This is represented through the green areas shown on the right.

The complete zombie pathing would look like the following:
3. Applying Damage to Player & Zombie
Zombie Hitboxes
The purple spheres and ovals represent the zombie's hitboxes. The shapes are a bit oversized to ensure that every part of the zombie is covered and will take damage when shot at.


Each zombie will spawn with 100 HP.
-
Headshots will do 50 damage per bullet
-
Body shots will do 20 damage per bullet
Zombie Attacking Player
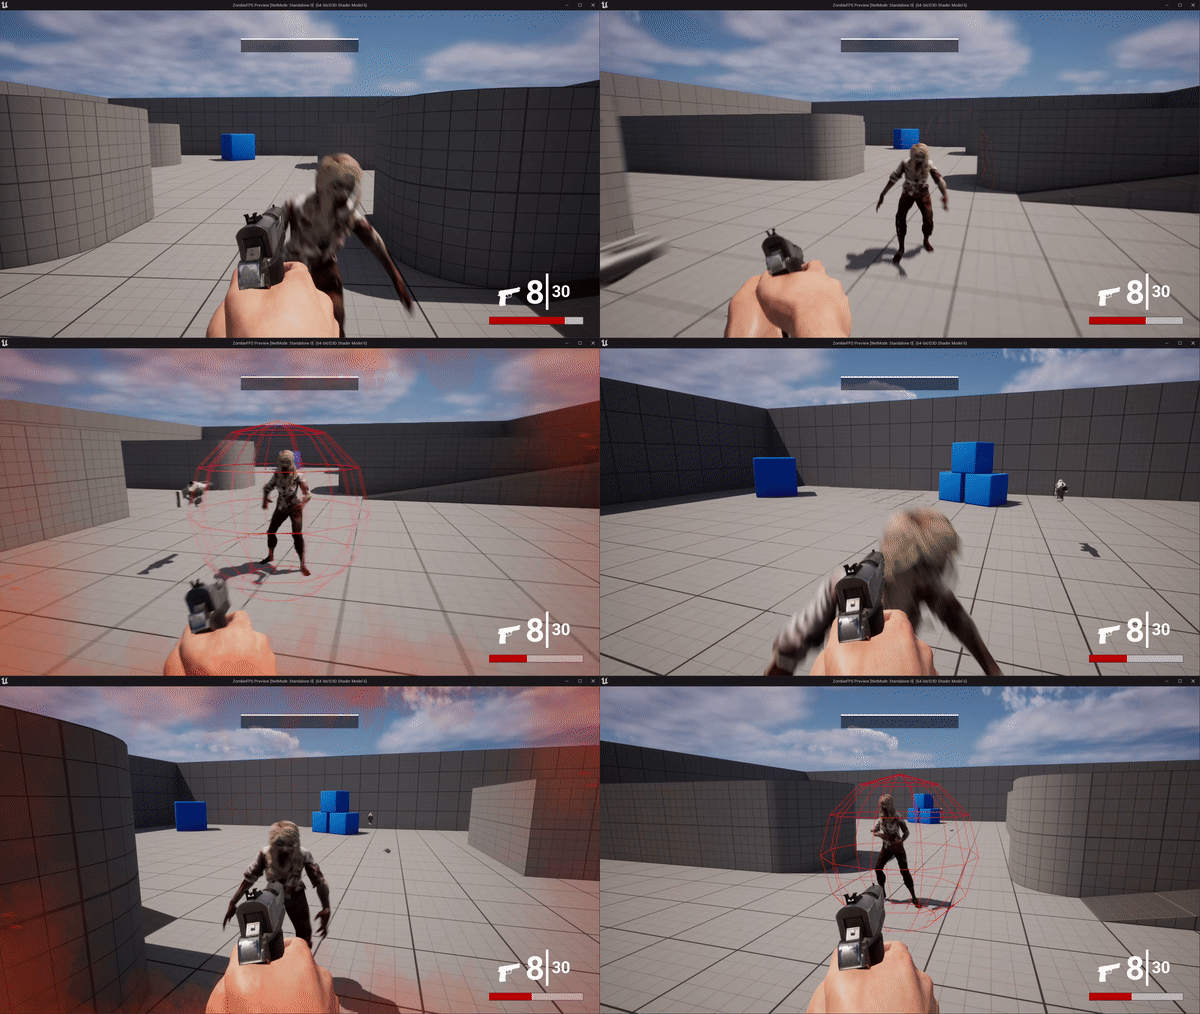
For the sake of demonstration, every time the zombie attacks, a red sphere will spawn around the zombie.
If the player is caught within the bounds of the red sphere, the player will be "attacked" and lose health.
4. Ammo Drop Spawn
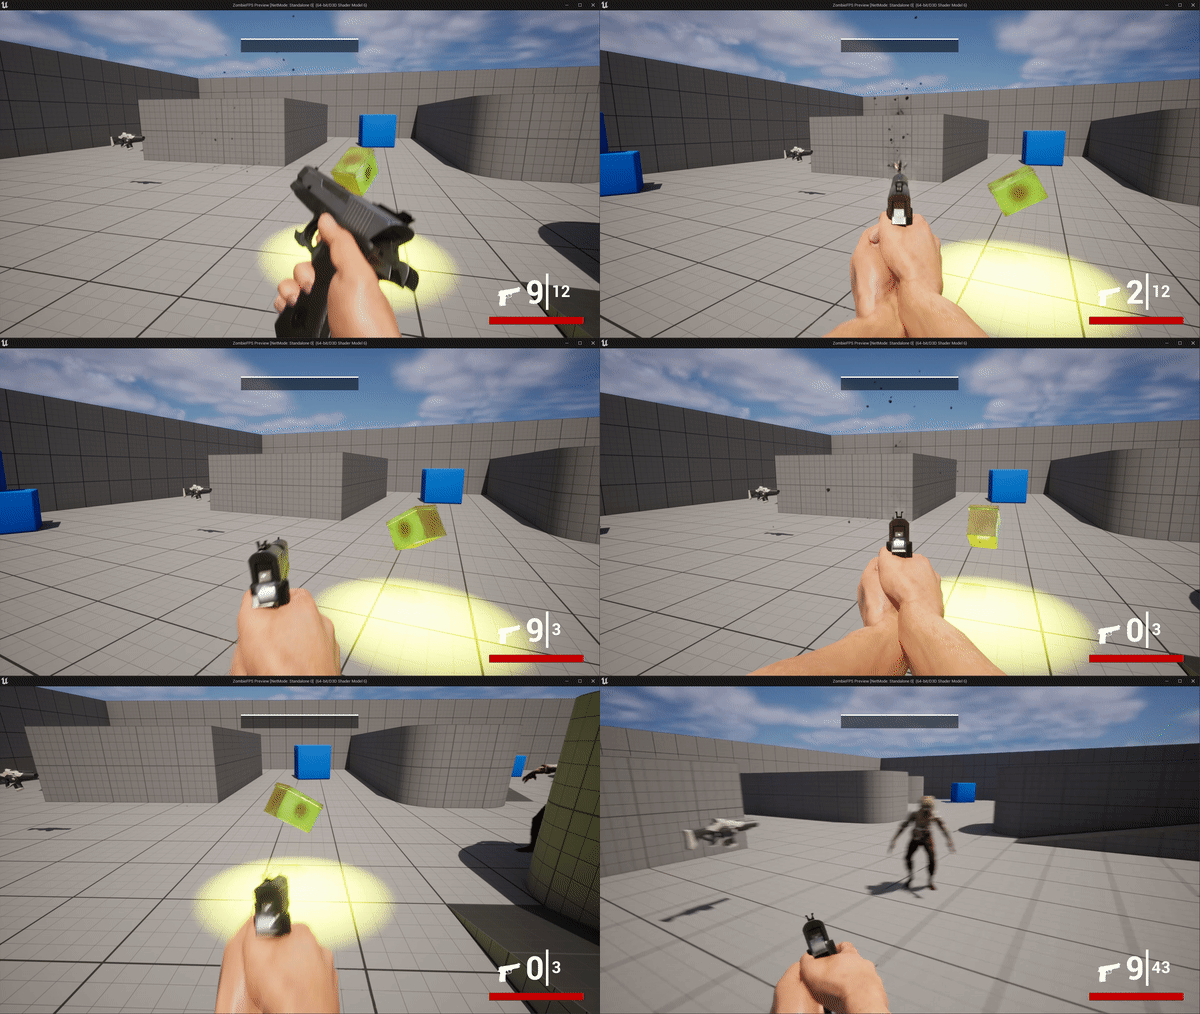
Ammo drops will spawn randomly after every wave, refilling the player's total ammo by 40 bullets.
In order to grab the player's attention when they spawn, I've added 2 point lights inside and under the ammo drop. Additionally, I had it rotate mid-air to add extra attention.
5. Creating the Game Mode
Inside the game mode blueprint, it contains the following functions I programmed to create the game:
-
Starting next wave
-
Spawning zombies
-
Killed zombies
-
Updating the wave count
-
Win/Loss conditions
-
Spawning Ammo Drop

6. Creating the UI
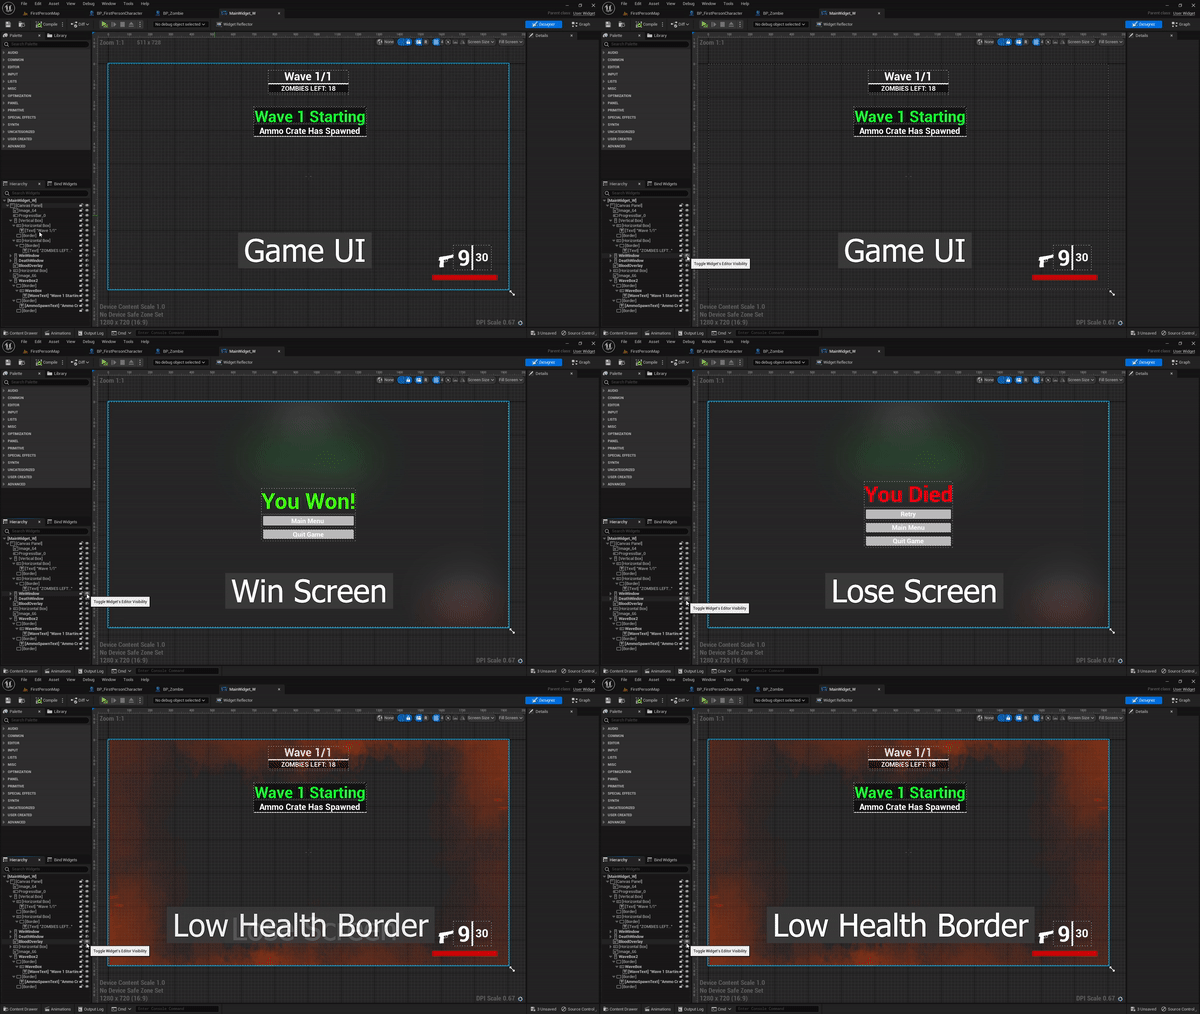
I created a simple UI which will inform the player which wave they are on, how many zombies are remaining, their health and their total ammo.
The wave number, zombies remaining, health, and ammo are all int variables that are connected to the game mode blueprint and main character blueprint.
7. Map & Level Design
The entire map was made from scratch with free assets from the marketplace or Quixel Bridge.
I was inspired by COD Zombies where a military presence was mixed with civilian vehicles.
This helps creates the narrative that civilians were trying to evacuate but were stopped by the military blockade.
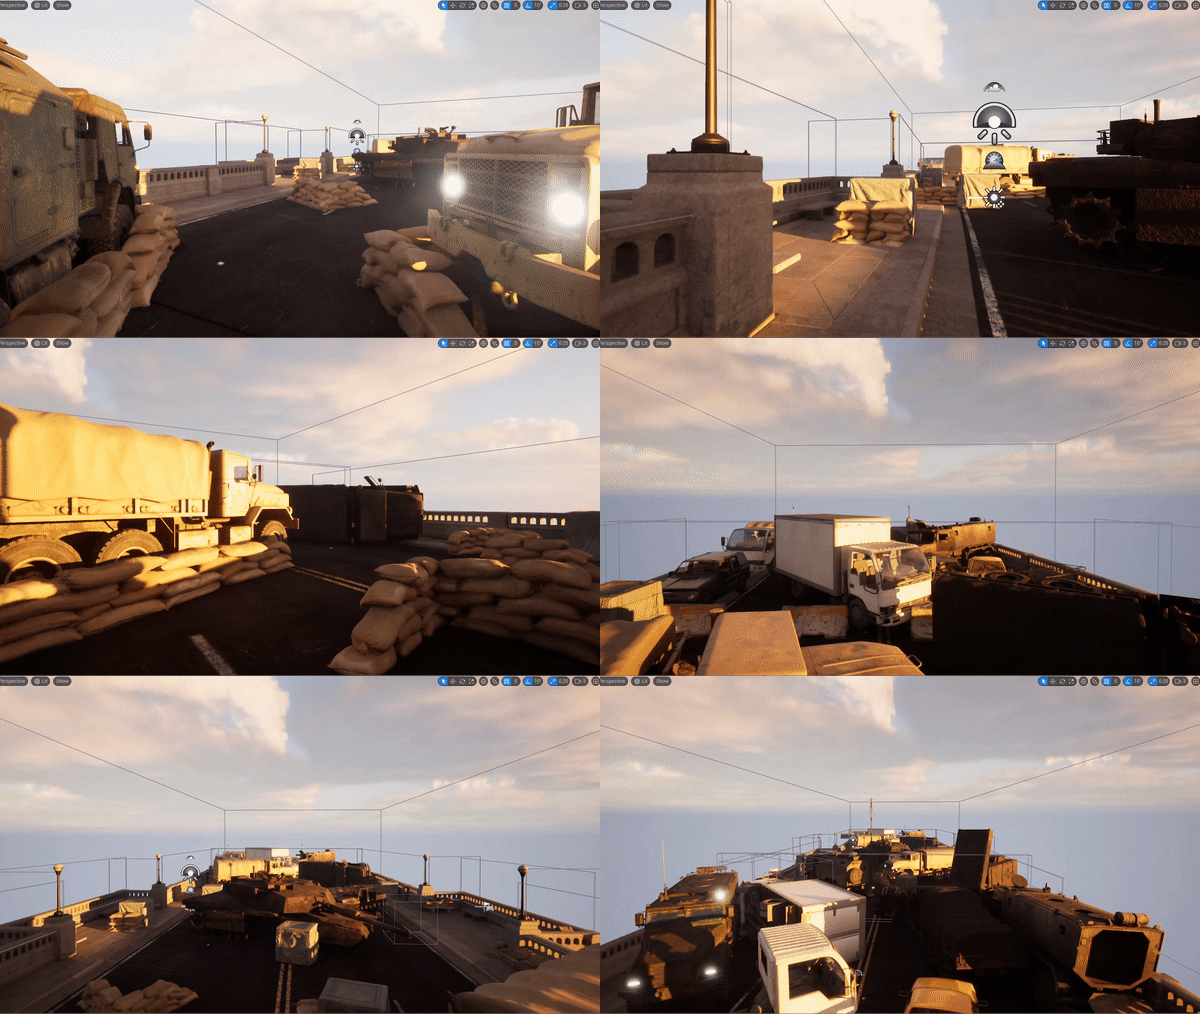
Below is an overview of the entire map:

Reflection
Undead Uprising, for sure, was my most ambitious and extensive project. I was able to incorporate all the skills I've learnt from my previous games and implement them into this one. I've not only gotten better at animation blending but programming through nodes has definitely become more natural to me. Additionally, I most enjoyed creating and designing the map, trying to figure out how placing certain assets would affect the flow of the gameplay.
For creating this within one week, I am extremely proud of the outcome and surprised at how fun a game I created can be. After this game, I would like to push myself even further and discover what other genres of games I can create.